
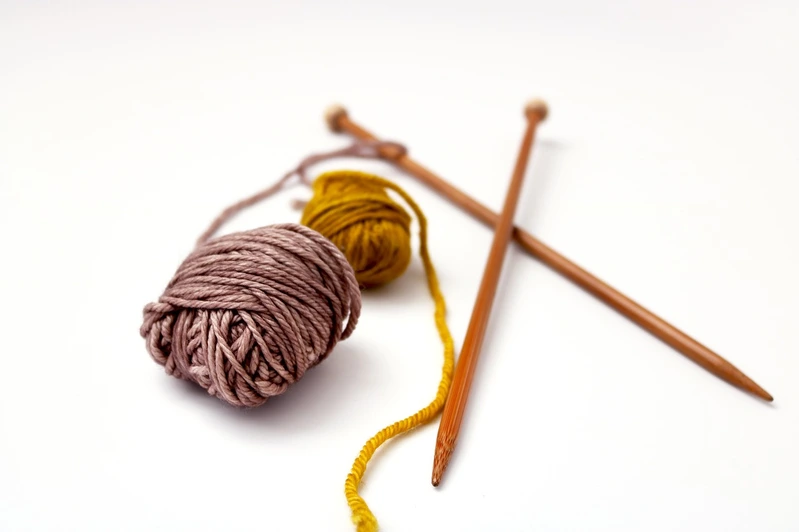
A couple of months ago, I decided to knit a t-shirt. I cast on the 90 stitches the pattern called for, and then double-checked to make sure I had the correct stitch count. I only counted out 89 stitches, but it’s easy to miscount when you have so many stitches, so I figured I’d go over them a third time. To my dismay, I counted 91 stitches. If I had known about this method of counting stitches, it would have spared me so much frustration! Now I have no problem casting on 90, 100, or even more stitches!
This method is super simple. The only thing you’ll need is a set of stitch markers. Cast on your first 10 stitches, and then place a stitch marker on your needle. Keep casting on stitches, placing a stitch marker every 10 stitches, and instead of counting every stitch individually, count in sets of 10, starting from 0 after every stitch marker. For example, if you wanted to cast on 60 stitches, instead of counting from 1 to 60, you would count to 10 six times. When you want to total up your stitches, count how many stitch markers you’ve placed, multiply that number by 10, and add any stitches after the last stitch marker.
Marking sets of 10 stitches is, in my opinion, the best and easiest method, but you can use whatever number of stitches you’d like. For instance, you may prefer marking sets of 25 stitches when you need to cast on hundreds of stitches for a blanket.
Method Without Stitch Markers
A similar method that doesn’t use stitch markers is to use a row counter. Every 10 stitches, turn your row counter. A 6 on your row counter would represent 60 stitches. Again, you would count in sets of 10, and not by individual numbers. It’s a little harder to double-check your stitches with this method, but it’s the next best thing if you don’t have any stitch markers.
Types of Stitch Markers
There are two main types of stitch markers: ring stitch markers and locking stitch markers. They are very similar and can be used in the same way. The only difference between them is locking stitch markers open and close, and ring stitch markers are continuous rings that have no side opening. Both types of stitch marker have their advantages.
Ring stitch markers are slipped onto your needle between your last worked stitch and the next unworked stitch. After you have placed the marker, it cannot be moved or taken off your needle until you’ve knit around to it again. These markers are unobtrusive and comfortable to knit with.
Locking stitch markers can be slipped onto your needle like ring stitch markers, or they can clip onto a specific stitch. Since they can open and close, you can move, or remove, these markers whenever you’d like. If you’re like me and can crochet as well as knit, these markers can be used for both crafts.
DIY Stitch Markers
If you don’t have any stitch markers, don’t worry! Many common household items can be used as stitch markers. Here’s a few DIY stitch markers that I personally recommend:
- A strand of yarn tied into a loop
- Hoop or lever back earrings
- Hair ties
- Safety pins
- Paper clips
- A plastic straw cut into thin pieces